
Customer prerequisites:
Steerpath requires the office floors plans for each floor in CAD, PDF and or image formats.
Specify which desks, meeting rooms and open spaces should have IOT sensors.
There are two typical ways to handle the installation process.
The installation team can either:
- Add each sensor to the Senzolive dashboard as they go.
- Follow an installation plan by checking the sensor MAC address from the dashboard and installing them in the locations Steerpath have provided.
ThingseePresence desk occupancy sensor full installation guide
Steerpath quick reference installing guide for the desk sensors
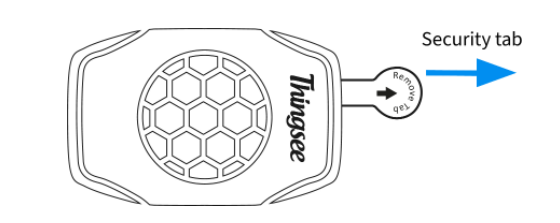
Remove the security tab to turn on the sensor
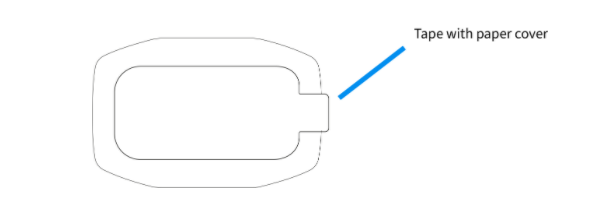
Clean the surface you are installing on with alcohol wipes. Remove the sticker and hold in place for 5 seconds.
Attached the sensor as shown below. Leave space around the sensor for future maintenance.
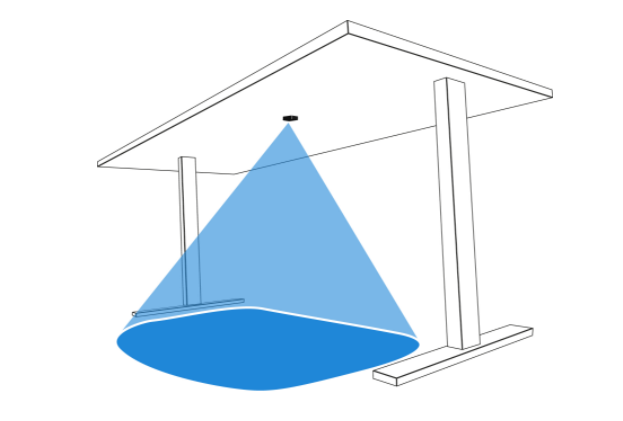
Add the Workspace occupancy dome to direct the beam towards the user sitting location.
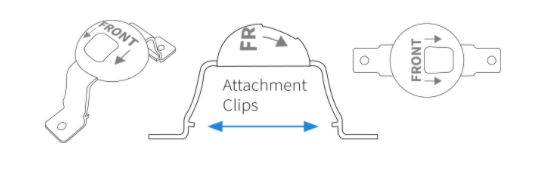
Meeting room and open space sensor installation guide
Install the sensors on the ceiling roughly every 10-12 meters.
Meeting rooms typically require one sensor installed on the ceiling in a central location.
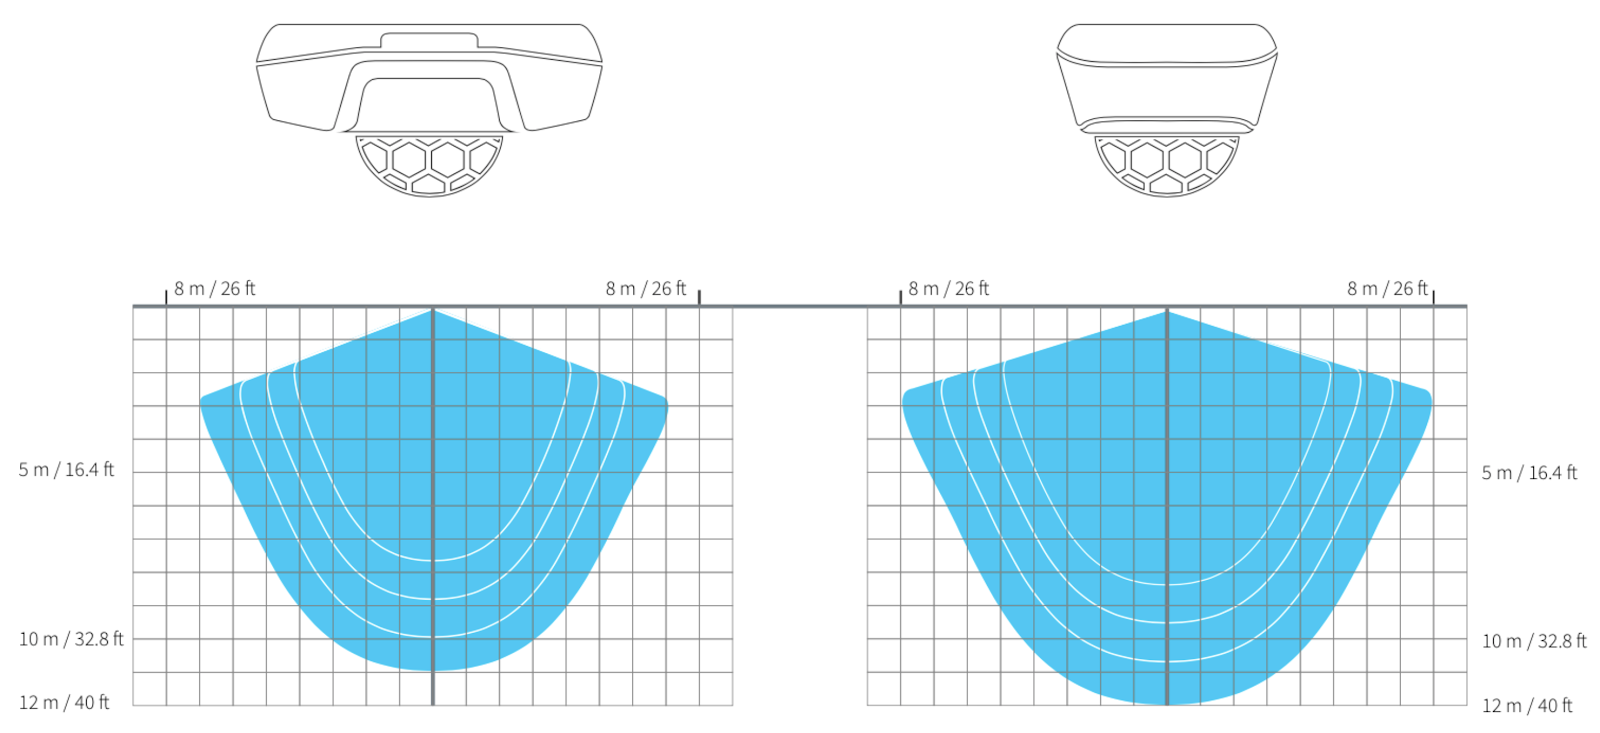
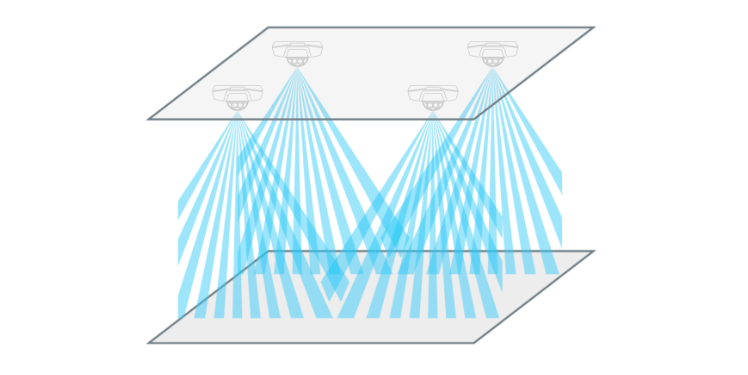
Thingsee Gateway Global full installation guide
Steerpath quick guide to installing the Gateways
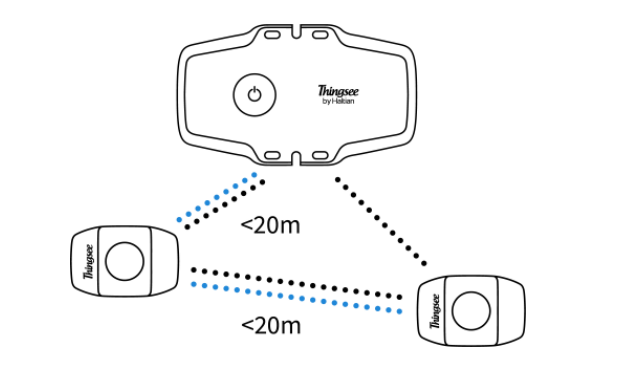
Power on the Gateway using the USB power cable provided. Install the gateway within 20 meters of a meshed ThingseePresence sensor. The gateway is always cellular connected.
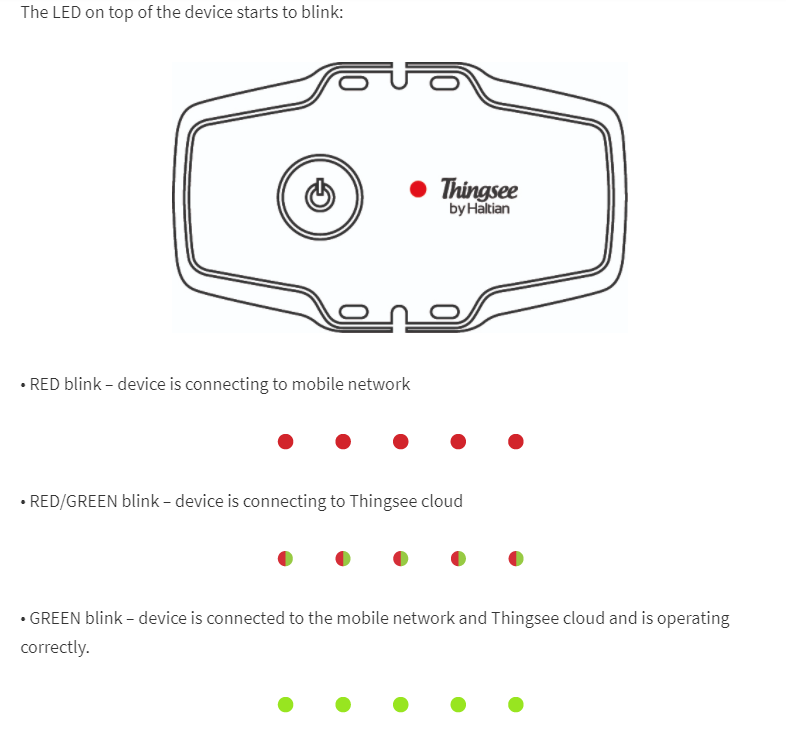
The LED will blink green when it successfully connects to the cellular network.
Location of the Senzolive MAC address ID
Each sensor has a unique Senzolive MAC address ID. This ID is used to add each sensor to the Senzolive dashboard, or to read from the Senzolive dashboard to identify where each sensor should be installed.
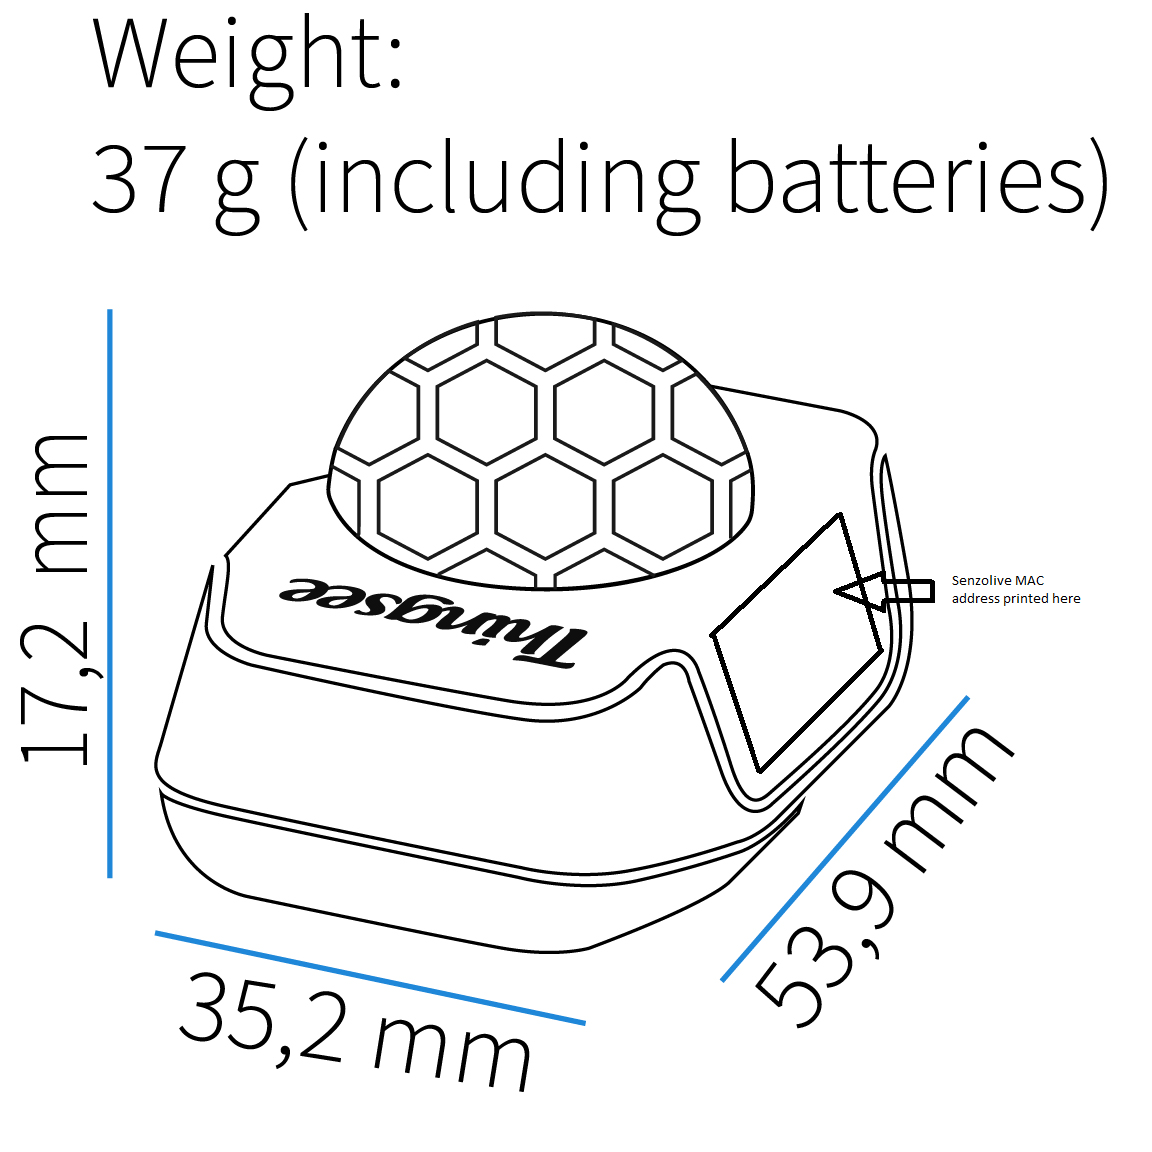
Senzolive Dashboard setup process
Login to https://software.senzolive.com/ using your provided credentials
If the installation team is adding the sensors to the platform as they install them.
- Click the Add Sensor button.
- Move the sensor to the desired location on the floor plan.
- Enter the MAC address of the sensor and specify a name.
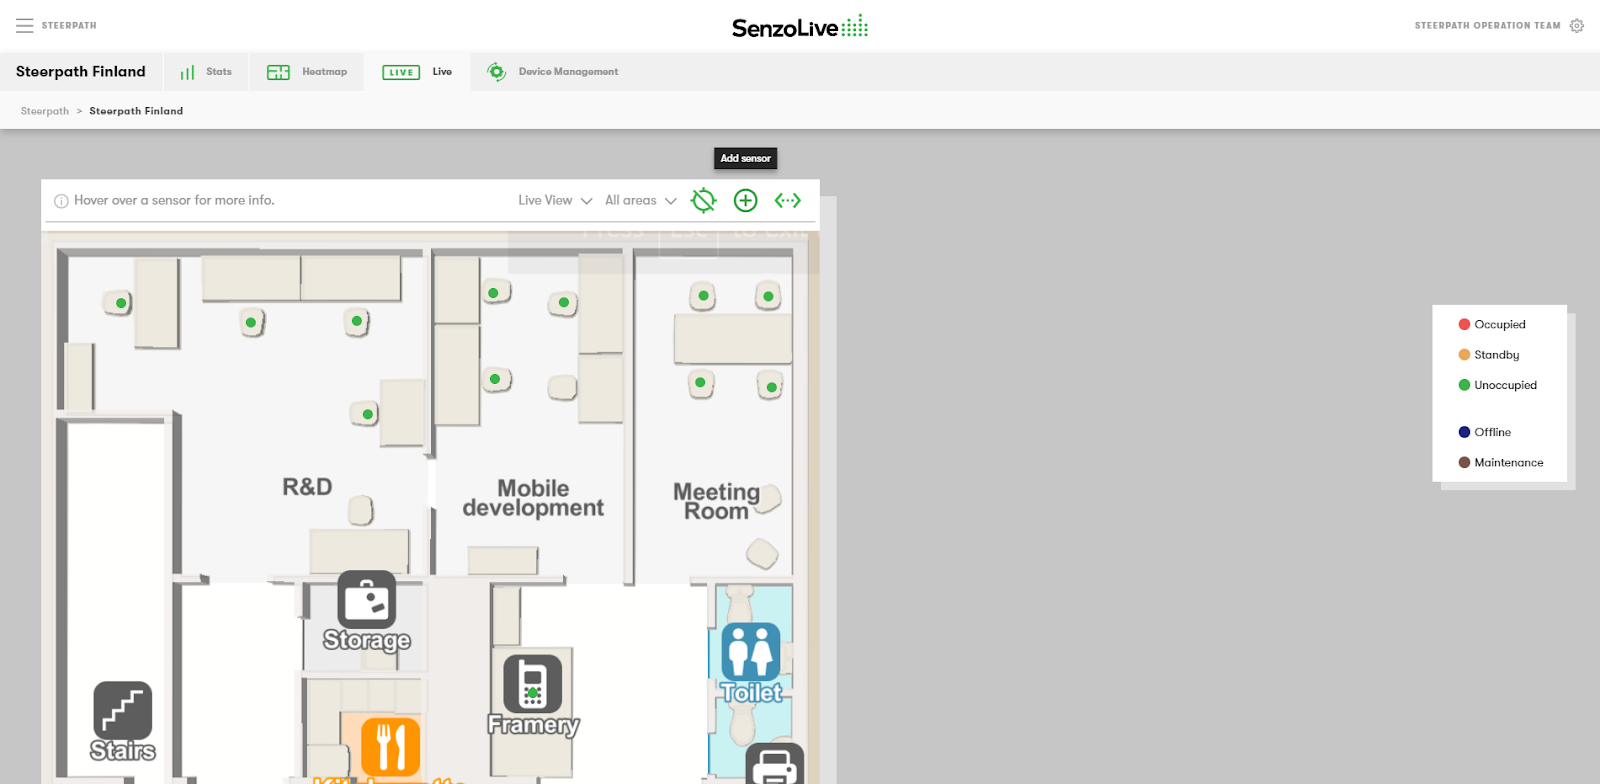
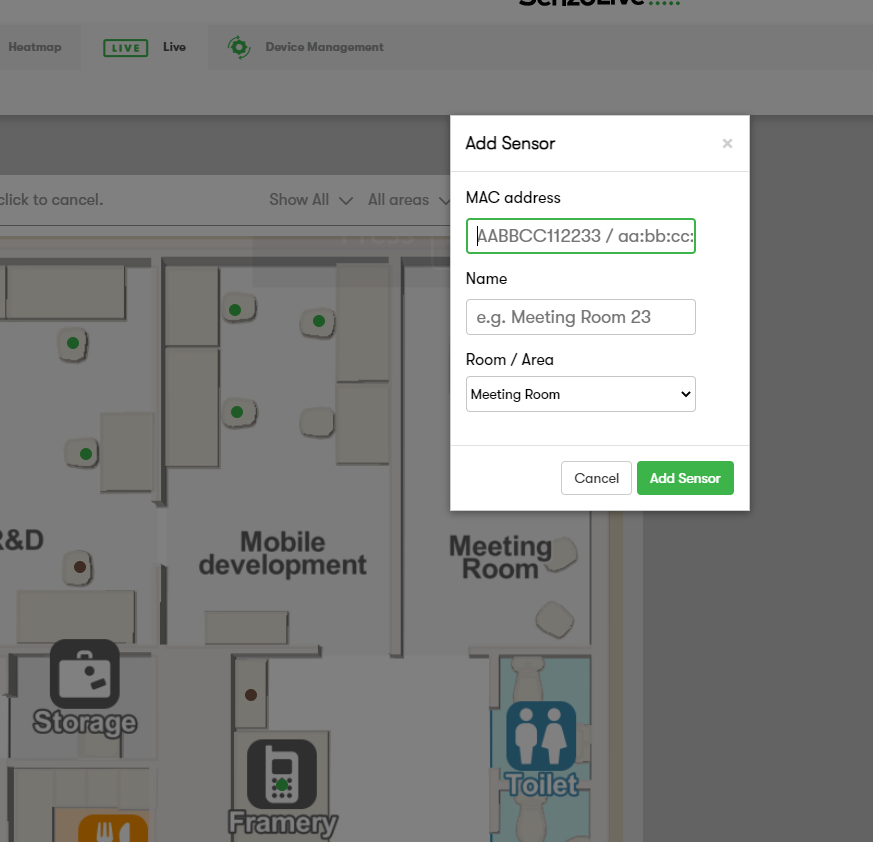
If the installation team are installing based on previously allocated sensor location.
- Move the mouse over a sensor to view the Senzolive MAC address (as shown below)
- Locate and install the sensor in the allocated location.
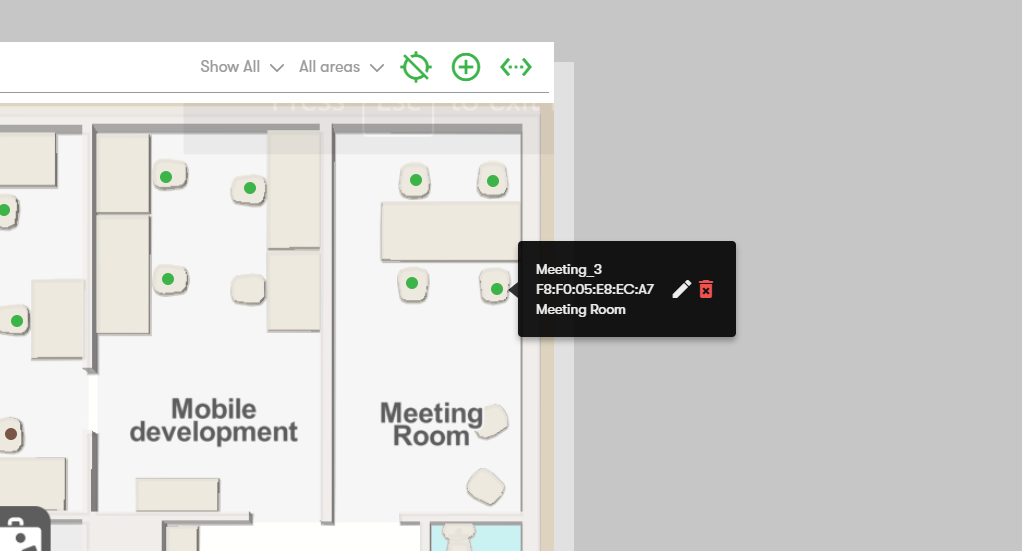
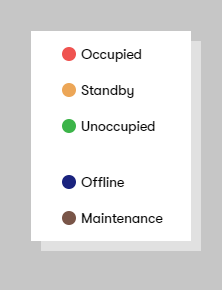
When the sensors are added to the Senzolive dashboard, powered on and in range of the gateway they should indicate as green in the dashboard.
Live view status colour codes.
Copyright Steerpath. All rights reserved.
Comments
0 comments
Please sign in to leave a comment.